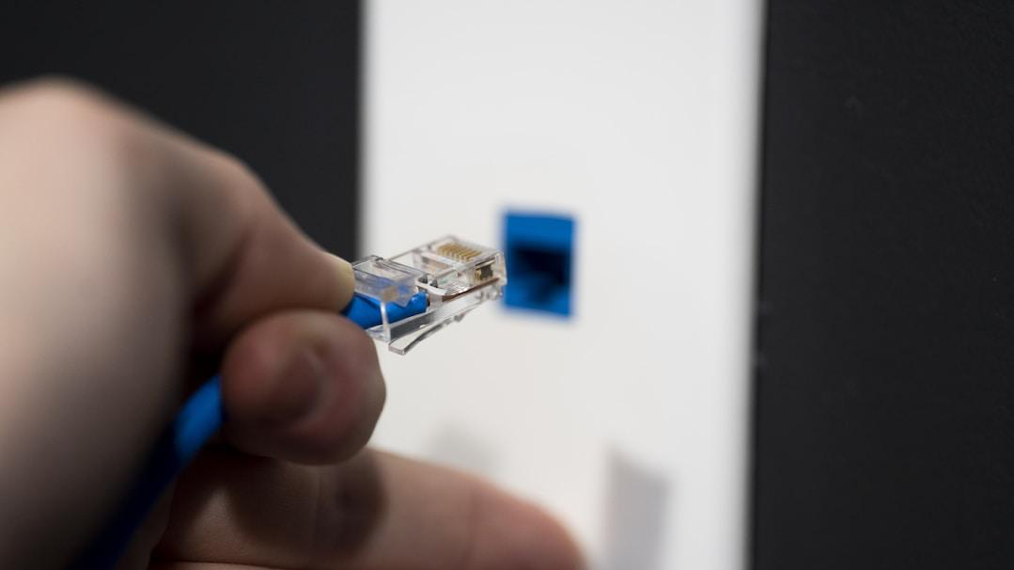
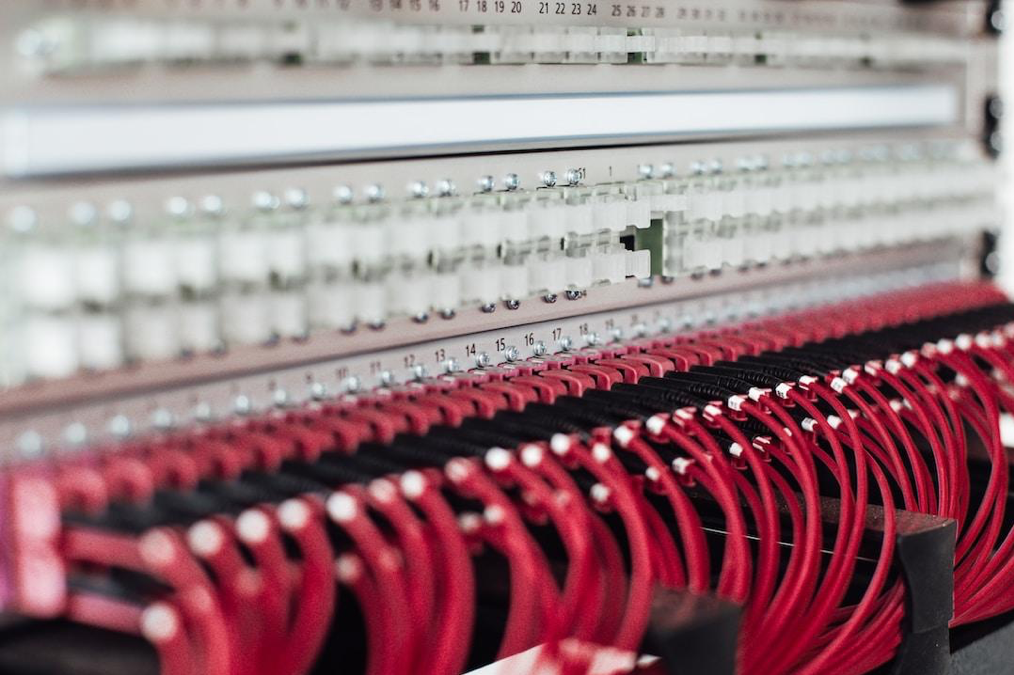
The term ‘terminating CAT5 Ethernet cables’ often alludes to the complexities involved in the procedure. Getting the right knowledge might feel like solving an intricate puzzle. Notably, CAT5 termination requires a specific set of tools and a well-thought-out process which you will learn subsequently in the article. However, it is not as hard as it is often deemed to be. In this article, we will guide you through a step-by-step methodology to simplify the process.
Underlying Basics of CAT5 Ethernet Cables
To understand the process of termination, it is crucial to comprehend the basics of CAT5 Ethernet cables first. These cables are used for ethernet purposes, transmitting data and voice signals over a network.
CAT5, short for Category 5, complies with certain specified standards which dictate its maximum transmission capabilities. Each CAT5 cable typically contains four pairs of copper wire. Its widespread acceptability stems from its assured performance for data transfers up to 100 meters.
Last but not least, it is critical to assess beforehand the conditions in which the cables will be used. This will help determine the right type of cable to use which may vary based on factors like the source and destination devices, operating conditions, speed, and so forth.
Essential Tools for Terminating CAT5 Ethernet Cables
Before you get started, make sure to have the necessary tools available. The first and foremost requirement is a quality crimping tool. This is necessary to securely join the connector to the cable.
You will also need a wire cutter to trim any unnecessary wire lengths. Make sure to choose one that gives a clean, undamaged cut as rough edges could potentially harm the cable’s performance.
Additionally, you need a wire stripper to remove the cable jacket. It’s important to choose a tool that is designed specifically to strip CAT5 cables to avoid accidentally damaging the internal wires.
Having a fitting and sturdy workstation is equally important. It provides stability and aids in carrying out a neat job with minimal errors.
Detailed Steps To Terminate CAT5 Ethernet Cables
Now that you are well-equipped with the right tools and knowledge of CAT5 Ethernet cables, the next step is to take the plunge into the termination process itself. The first step is to strip the cable. Gently strip away a portion of the outer jacket, exposing the internal wires.
Next, align the wires in their correct order, by the principle of T568B color coding. Double-check to ensure their correct placement before proceeding.
Then, insert the wires into the connector. Press each of the wires firmly into the connector and ensure that they are fully inserted. Finally, use the crimping tool to securely fasten the connector to the cable. Test for connection to ascertain a successful termination.
Suitable Environment for Terminating CAT5 Cables
Having the right environment for terminating CAT5 cables can significantly impact the result. Preferably, the area should be well-lit, well-ventilated, and free from excessive dust and moisture.
Ensure a stable work surface, which provides ample space to keep all necessary tools within reach. The environment should be adequately ventilated to ensure efficient cooling of the cables and connectors. It also helps to keep the work area dust-free, minimizing the chances of dust getting into the tools or cables.
Lastly, maintain a sensible organization of all tools and cables being used. This not only saves time but also minimizes errors and avoids misplacement of tools or components.
Overall, terminating CAT5 Ethernet cables need not be as daunting a task as it is often perceived. With the right knowledge of the underlying basics, having the requisite tools, following the correct steps, avoiding common mistakes, and ensuring a suitable working environment, you can effectively master the art of CAT5 cable termination.

