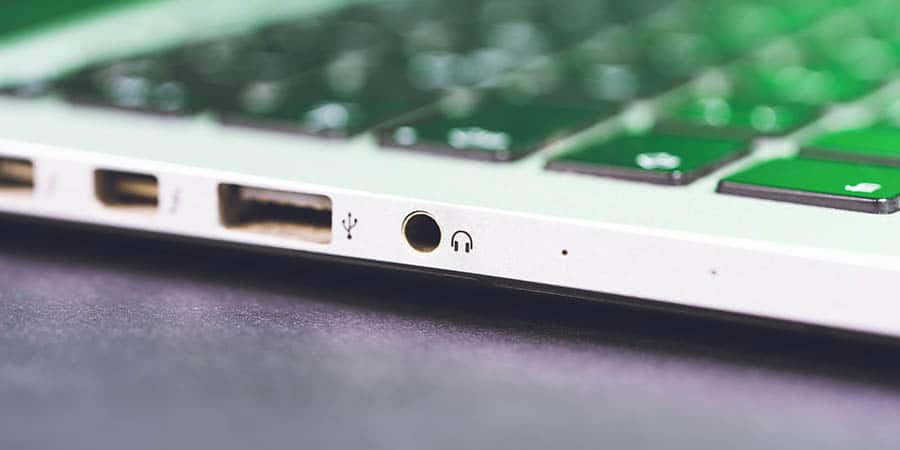
For me, nothing is more frustrating than not being able to listen to my favourite song. There may be many reasons for causing this headphone issue. The headphone jack not working can be one of the reasons. Anything from a system issue to faulty hardware can cause a headphone jack not operating error.
If you’re also suffering from this audio problem, remember that this is not something to worry about. You can resolve this issue with just a few clicks. Here, I’ll cover some easy ways to fix the headphone jack not working problem.
So let’s get started.
Why is the Headphone jack not working?
Before digging into the fixes, it is vital to track what caused your headphone jack to stop working.
Below, we’ve listed some most common causes for this issue.
- Physical damage:- The headphone jack is most likely not going to work if it gets physically damaged.
- Outdated drivers:- Drivers are the main component present in your system that allows devices like headphones to function with your computer. Sometimes, outdated drivers can also cause headphone jack issues.
- System issues:- You might not be able to use your headphones if there is an issue in your system.
- Software error:- You might not be able to use your headphones if any software you installed on your laptop interferes with your headphones.
Keep reading the article to explore how to resolve the headphone jack not working problem.
Fixes to resolve headphone jack not working issue
Have a look at some common fixes you can use to resolve this issue.
1. Plug your headphone in and restart your computer
Whenever you face this issue, the first thing you can do is plug your headphones in and restart your computer.
However, the fix is temporary, but still, you can give it a try. All you have to do is plug your headphones into the headphone jack and restart your computer.
Make sure to wait for a few seconds before restarting your computer for better results.
After restarting your computer, if you’re still facing the audio issue, move on towards the next solution.
2. Disable front panel jack detection
If you have a Realtek Sound card, you can try to disable the front panel jack detection to fix this issue.
Follow the steps shown below for disabling the front panel jack detection.
- Type the Control panel in the Windows search bar and open it.
- Click on the View by at the top right corner of your screen and select Large icons.
- Click on the Realtek HD Audio Manager and select the Connector settings option.
If you do not see the Realtek HD Audio Manager option, you do not have the correct drivers.
- Now, click on the Disable front panel jack detection option and select the Ok button.
- Reboot your PC and check whether the problem gets resolved or not.
3. Change the default sound format
- Open the Control panel on your laptop and click on the Hardware and sound option.
- Click on Sound and double-click on the Default playback device under the playback section.
- Go to the Advanced tab and change the default sound format to something else.
- Click on the Ok button to close the window.
- Reboot your laptop and check if the problem gets resolved.
4. Run the Windows 10 Audio troubleshooter
You must know that Windows 10 always comes with some helpful troubleshooters.
Follow the steps shown below to run the Windows 10 Audio troubleshooter to fix the audio issues.
- Click on the Windows start icon and choose Settings.
- Click on the Update and security and select Troubleshoot.
- Choose Playing audio and click on Run the troubleshooter.
The troubleshooting will fix all the issues if anything detected.
5. Update your audio and sound drivers
- Press and hold the Windows key + R to open the run dialogue box and type devmgmt.msc in it.
- Press the Ok button and expand the Sound, video, and game controllers section.
- Now, you have to right-click on your audio driver and select Update driver.
- Select to start searching automatically for updated driver software and wait until drivers get updates if any are available.
- Reboot your laptop and check if the problem persists.
Wrapping up
Hopefully, the article will assist you fix the headphone jack not working issue. If your headphone jack is not working, try these simple and effective fixes and start enjoying your favourite songs. If you’re still facing a problem, don’t hesitate to get in touch with us.
