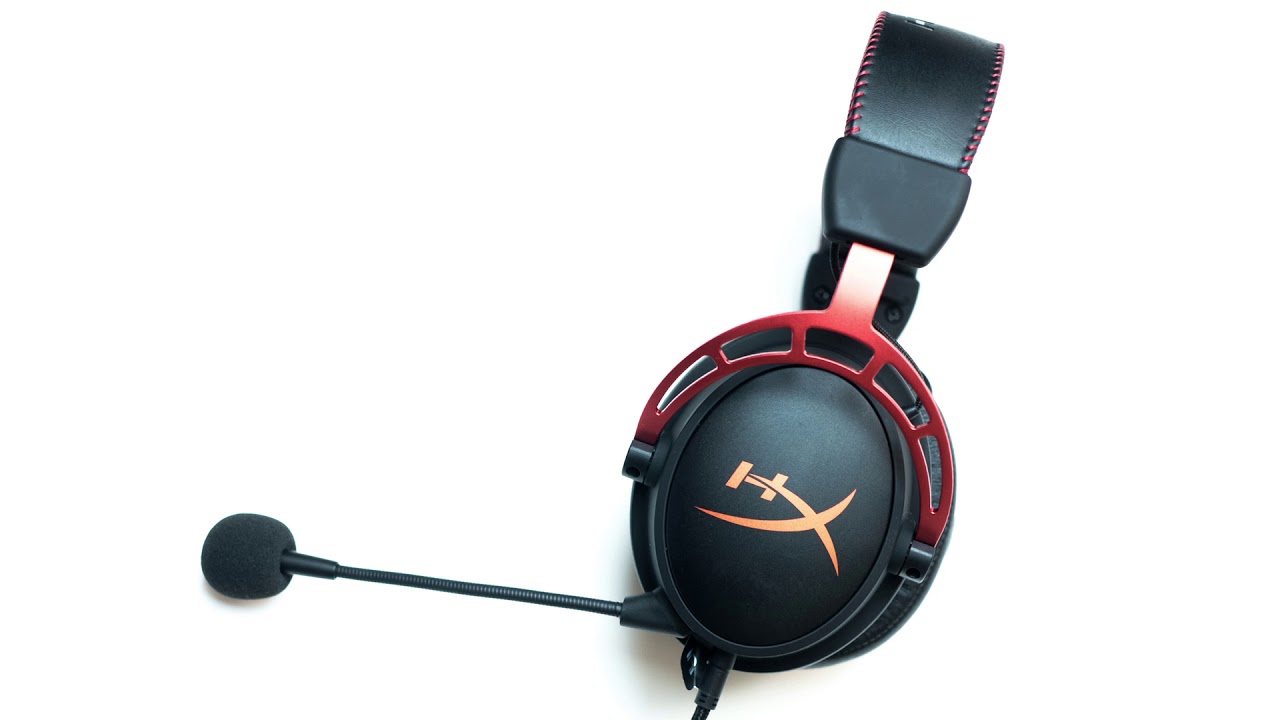
You may have spent your hard earned money on this brand new headphone. Now that your hyperx cloud 2 mic is not working, you might be disappointed. Did you know that you can fix this issue by yourself? Fixing this problem may not take much of your valuable time. In this article, we have compiled a set of 4 simple methods using which you can easily fix your headphone mic without having any technical knowledge. Read this article fully without skipping a line and implement the steps of the following methods correctly to get your work done at ease.
Steps to fix your hyperx cloud 2 mic:
Firstly, make sure that your hyperx cloud 2 mic is not working. Try to determine the reason behind it as said in the explained paragraphs. After that, here are the 4 simple steps that you could possibly do to fix this issue. Observe these methods and the steps that follow carefully and implement them as such on your hyperx headphone. Get this problem solved by yourself without spending any dollars to do the same.
Method 1:
The mic of your hyperx headphone may be disconnected, muted, or not connected correctly. Always check the mute settings on your hyperx headphone before proceeding further to determining the problem with your headphone.
Step 1: Whenever you use the USB switcher on your hyperx headphone, make sure that the mute option is not activated. This is a must to notice as the mic automatically mutes itself when you switch the mode on your headphone to USB.
Step 2: Check all the connections to your headphone if it’s placed right. If not, correct it. If your mic is still not working, insert the USB cable to another portal of the device to which you want to connect it.
Method 2:
In most of the cases, your hyperx cloud 2 mic is not working because it is not set as the default device on your system. To set it as the default device, here are the steps you need to follow:
Step 1: Enter the settings on your Windows search and enter large files in the filter option.
Step 2: You’ll find a number of results that appeared to your filter. Search for ‘sound’ and enter the ‘sound settings.’
Step 3: Click on the ‘recording’ tab and you’ll find the option called ‘microphone.’
Step 4: After entering the microphone settings, you’ll find an option called ‘show disabled device.’
Step 5: Right click on the headset microphone and enable it. Right click on the same option again and set it as the default.
It is that simple to set your hyperx headphone as the default on your system. Now check your hyperx headphone if it works. If not, there are yet more steps that you may have to do.
Method 3:
You might have invited that your hyperx cloud 2 mic is not working if you are using an outdated device. You must update your system to get this problem solved. There are two types of updates – manual update and automatic update. The manual update involves a lot of technicalities. Whereas the automatic update does not. Here are a few steps to update your system automatically.
Step 1: Download ‘Driver easy’ and install it on your system.
Step 2: This application is used to detect problems in the drivers. Click on scan now option after running the ‘Driver easy.’
Step 3: Click on the headset option and update it to support the driver with your hyperx headphone.
Your hyperx microphone will start to work now. If it doesn’t, here is the final step that you can do.
Method 4:
This problem may also occur due to the presence of some corrupted or unconfigured files in your system. In order to remove them, you have to reinstall your windows once again. Most probably your hyperx headphone will start working after implementing this method.
These are the four easy and non-technical steps that you can do to fix the mic of your headphone. If your hyperx cloud 2 mic is not working even after doing the above mentioned steps, the mistake is with the hardware. You have to get it fixed by a hardware service provider only.
