When you watch a video on any social networking platform, you may wonder what’s behind the picture. Some content is extremely easy as it’s just about filming surrounding with the help of the phone, yet there are some that look like short movies.
When you need a motion picture for a few of your friends and relatives to be posted, you can easily make do with the phone and instant sharing. Yet when you have an audience to communicate with, and a brand to develop, you are supposed to bring the video content onto a high level, as without it, you will lose in the competition.
Video editing looks challenging for those who are newcomers, however, if you plan your actions step-by-step and carefully overview the basic functions, it can actually be fun. Let’s set the algorithm to help you achieve the best results.
Pre-production stage
1. The script
Being spontaneous is a great personality characteristic, however, it’s not the one that will help you create an engaging video. If you want to go further than “look, it’s my dog happily jumping around” you need a plan:
- Define the purpose of your creation – what’s all the fuss about? Why do you need this type of content?
- Define the target audience you want to communicate with as it influences the overall tone of the video. The way you talk to Gen Z and Millenials is just incomparable, like from parallel worlds.
- Be very specific with the message of the content – the viewers must get one fixed idea after watching it.
- Be honest and open – your charisma and style of communication create all the linking with the audience. If you start faking emotions, people will immediately see you through and just leave.
- Plan the style, making everything that appears on the screen a part of it. All the visual effects, audio, and images must be united by an invisible thread, and complement each other.
Make sure you elaborate on every detail, second by second, as it’s the only way to create the product you need.
2. The software
The choice of software can be time-consuming, as you need to scan hundreds of offers and choose the most fitting one. For those who are at the beginning of an editing career, it is highly recommended to use online tool for editing videos as it is more efficient than installing the software on a personal computer: they have a sufficient toolkit, and, what’s more important, they are always at your disposal, regardless your location or devices you use.
Production Stage
1. The footage
After the script is done, you can actually move on to filming what you want. Apart from the main footage, you are highly recommended to have a supplemental one – a B-roll, which includes the surroundings and can be used while editing, to insert into the A-roll. For instance, you film the couple talking on the camera – that is the main footage, A-roll; the cutaways to surroundings or any significant places around – the supplemental footage, B-roll.
Post-production stage
Having finished all the filming, it may seem that the most challenging part is behind, and now there are just a few steps, and the video is ready. However, that’s a distorted vision, as everything just starts.
1. Get organized
All the materials that are supposed to be used for the video editing must be organized in folders and subfolders. You need to know where to find even the smallest file, thus, the editing process will be quick and simple.
2. Add clips to the timeline
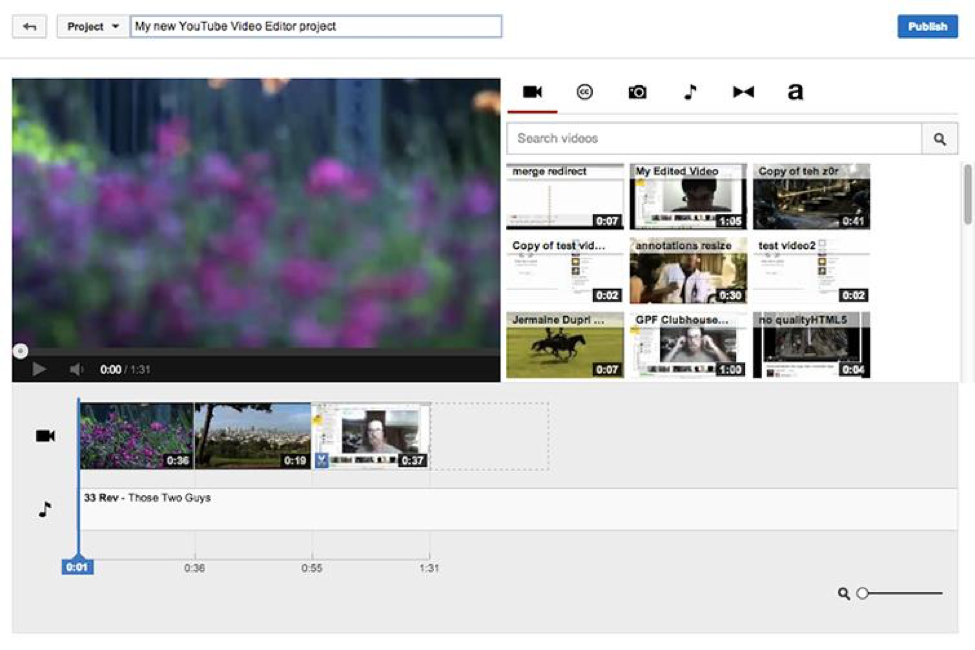
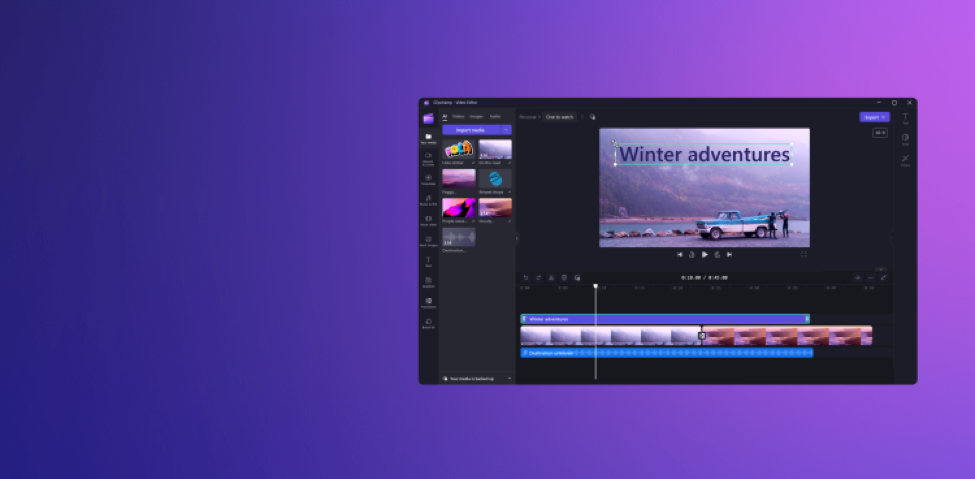
The timeline is the main workplace, it’s an area where all the editing is done – you arrange all the clips and map out all the changes. It presents the chronological order of your work, all the clips, effects, and transitions that are being added.
3. Do all the cutting
When we are unaware of all the editing tools, “cutting” seems to be the easiest. However, cutting comes in different forms and functions: standard or hard cuts, jump cuts, J & L cuts, cutaways, cross cuts, cutting in action, montages, cut-ins, and smash cuts. At the basic level of editing, you can easily manage with standard cuts.
4. Sounds
Any kind of audio will make the video alive. It adds action, emphasis, and emotions. While with the visual effects, you create captivating imagery, music makes it emotionally connected. When choosing the right pieces, make sure they match the target audience preferences and mind the copyright owners. It’s better to look for license-free music, to avoid any related issues.
4. Colors
When everything is structured, ordered, and reordered, it’s time to add touches to the overall appearance. Colors matter a lot, they create the picture, make it easy for understanding, and set the right mood. Color correction and grading can be done in various ways. Typically, you can use LUTs – “look-up-tables”- and apply the color grading preset you need for the footage.
5. Titles
It’s recommended to add titles at the beginning of the video, and at the end, as the conclusion. However, it will never hurt to add a few titles throughout the video.
6. Exporting
Before the final clicks, choose the resolution and size, which are required by the platform you are going to use for video sharing.
Bottom line
Video editing is the combination of creativity and sound knowledge of the editing toolkit. Obviously, it will not be an easy journey at the beginning, sometimes you will wonder why you even started it. However, after you master your skills and feel comfortable with all the editing functions, and the algorithm, the process will bring nothing but satisfaction, as well as the final result – the video.

