An Online Learning Website lets one share his knowledge with other users and simultaneously earn money. Moreover, online courses are very popular these days since they offer a large range of information along with the fleaxibility of learning whenever and wherever users want. Although it may seem difficult to create an online course, WordPress makes it feel like a cake walk. And it is way easier with WordPress LMS.
How is LMS Advantageous with WordPress?
While creating an online course, it is essential to have an LMS (Learning Management System) to manage the course website. Whatever kind of organization uses them, learning management systems have a lot to offer their users. For instance, an LMS might enable time and cost savings for a business.

The LMS gives students the flexibility to do their coursework whenever it’s convenient for them, rather than asking them to spare time to attend classes or training. It also eliminates the need for training sessions, instructors, travel expenses, training materials, and site rental can also save costs.
LMS also offers the following benefits:
- Better accessibility of online learning without geographical limitations.
- Can capably monitor progress and performance.
- The ease with which users can confirm the effective distribution of educational resources and online training.
- The capacity to personalize online instruction and training.
- Holds the ability to update eLearning modules and activities efficiently and fast.
- The use of automation by LMS helps users to postpone time-consuming, repetitive operations like registration and certification distribution so they can focus on more important work.
Step-by-Step process to construct an Online Course with WordPress
1.Install your Courses for the Membership Add On
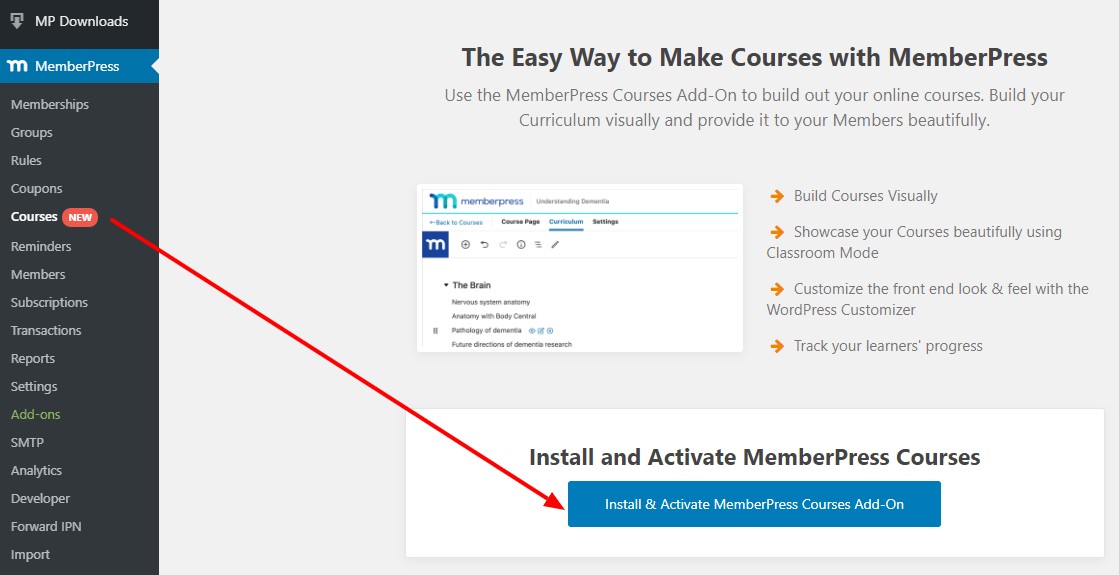
- After logging in to WordPress, select Memberships, then Add Ons from the dashboard.
- Hit Ctrl + F to look up Membership for Courses. Select Install under the Add On’s name. Next, select Activate.
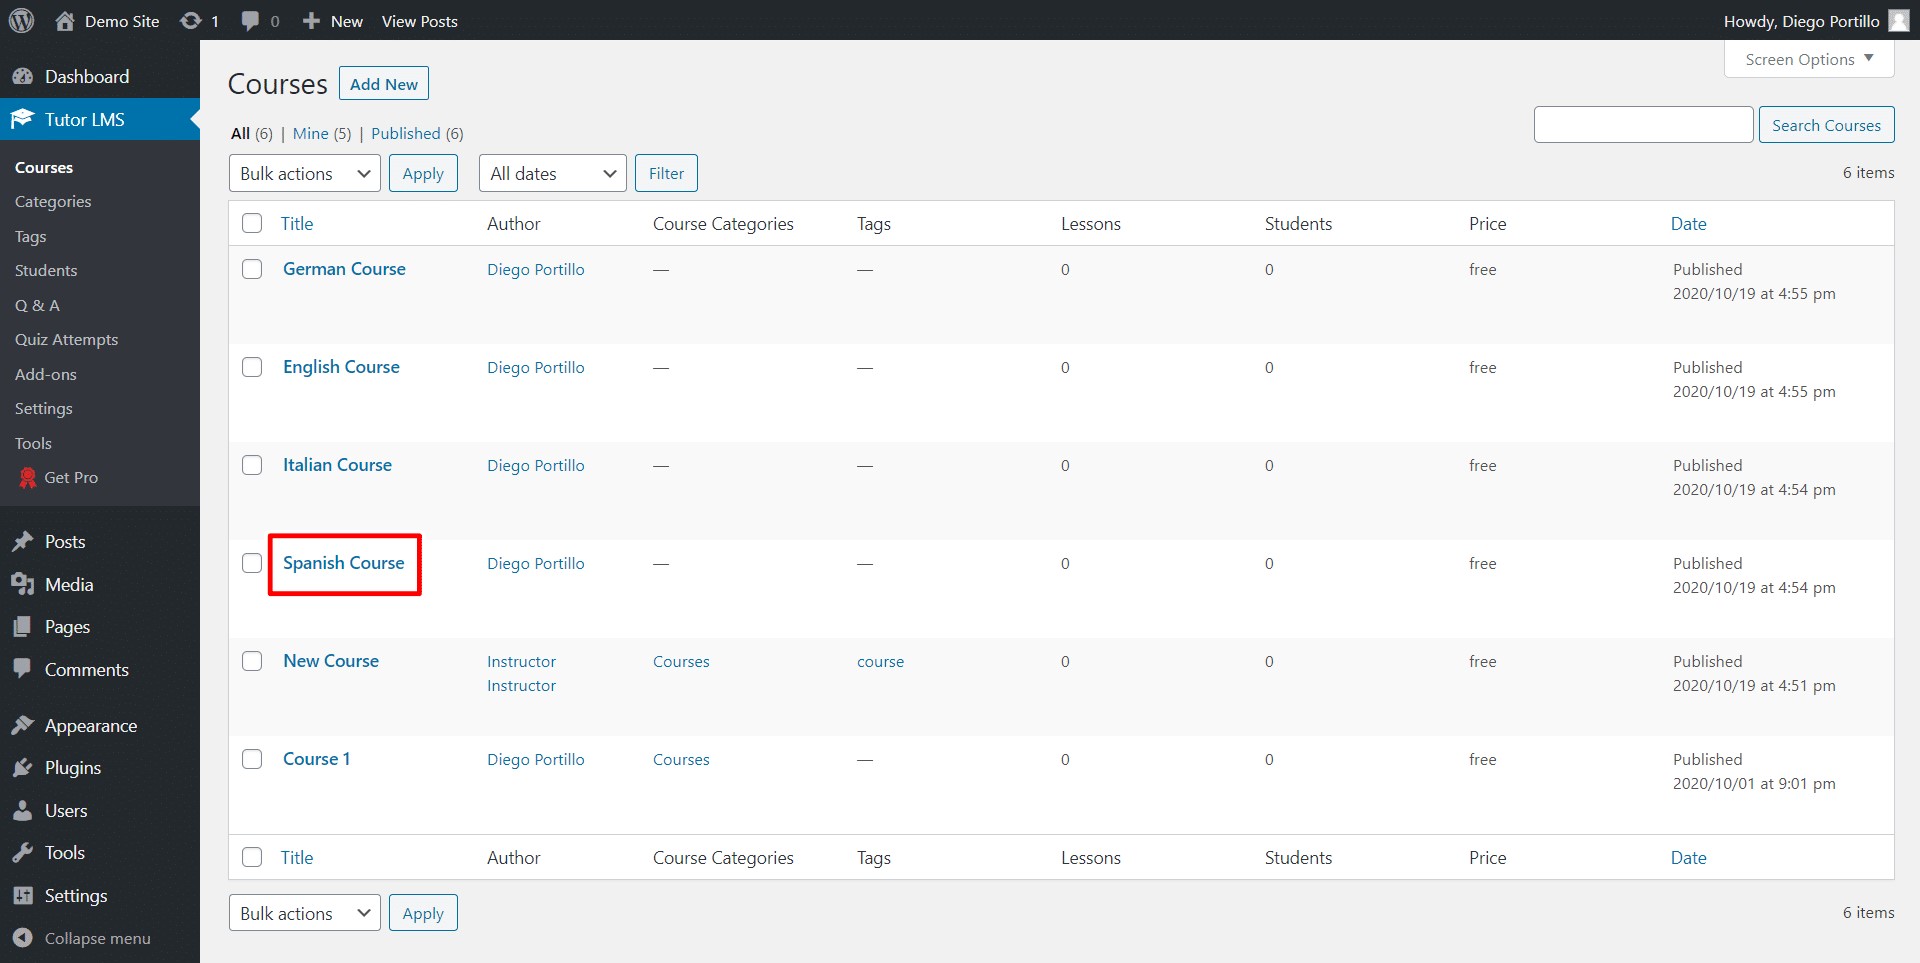
2. Add the First Course
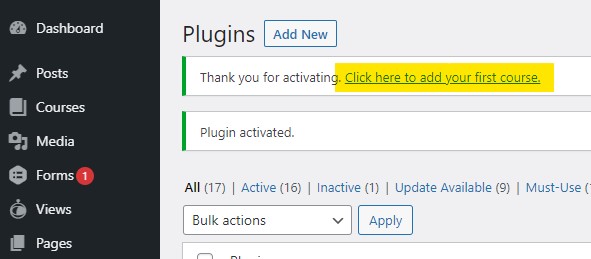
- The dashboard will show a notification asking users to add their first course as soon as the ‘Add On’ is installed. Press the hyperlink.
- It will direct users to the Courses page where they can use the integrated course builder (also known as the page builder) to modify an existing one or create a new course.
- To access the editor, click on the ‘Add New Course’ tab.
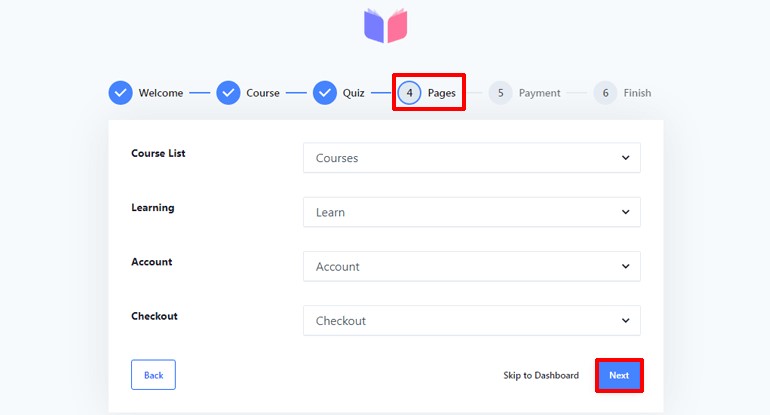
3. Set Membership Level and Add Lessons
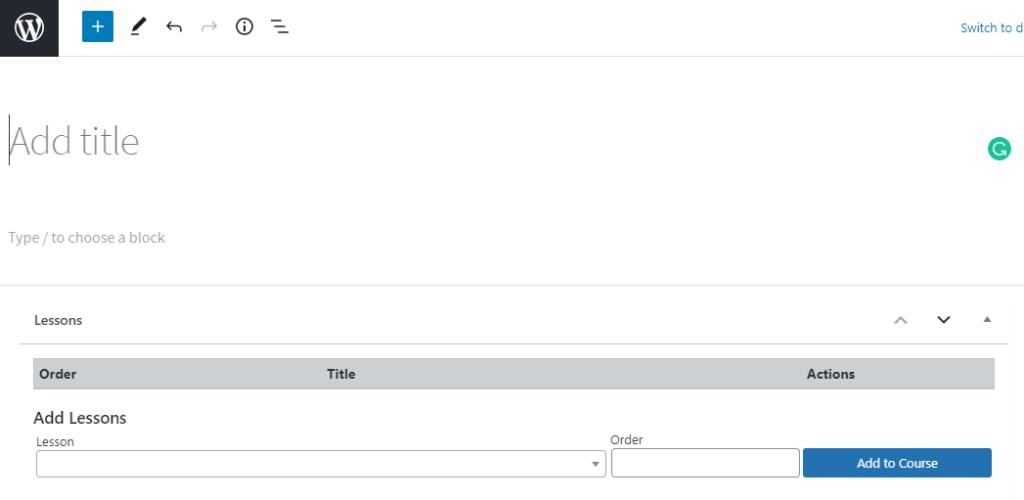
- Once in the editor, users can add a title and the course description.
- Users can add lessons to the course in the sequence they wish to get displayed below the editor.
- (Note: Before adding lessons to the course, users must first develop and publish them. To build lessons first, proceed to step 4)
- Users can create an extract, add a featured image, allocate a course category, and do a lot more from the sidebar on the right.
- It is important to use ‘Require Membership’ for the paid courses. Mark the membership tiers for which users wish to grant course access in this panel.
- Users will be able to access only those level after published, to which the specific courses are configured.
- The course is not accessible to non-members or members who enrolled for a different membership tier. Rather, they will be taken to the course website, where they will be required to register or sign up to access the course materials.
- Click on the Publish button to publish the course online after developing it. After that, users can see the front end of the course.
4. Make Lessons in an LMS
- Navigate to Courses > Add A New Lesson in the WordPress dashboard to start a new lesson in the LMS.
- Once the editor loads, users can create lesson just like any other blog post. Here, users can add images, videos, text, and audio to the lesson editor. Users can also use any other block that is available.
- When this is done with the content part, use the Course panel in the sidebar to allot the lesson to a published course. The Course Attributes section also allows users to adjust the order of the lessons.
- Press Publish once the sequence is completed.
- To create more lessons and add them to a course, follow the same procedure.
5. Adjust the Course Categories
In addition to assigning a course category during the course creation process, users may also create and allocate categories later for better organization of the course structure.
- Navigate to Courses > Category Courses. For every category, provide a name, a slug, and a description.
- After creating each category for the courses, users may use All Courses’ Quick Edit action to assign these categories.
- Just carry out these aforementioned procedures as often as necessary to start creating more courses.
Wind Up
WordPress offers a plethora of eLearning possibilities. Users can use it whatever they see fit for their Learning Management System requirements, from LMS plugins (WP) to customized online learning site development. With WordPress, there are numerous options for turning the website into a powerful Learning Management System. Users can choose to build a website just for customers or use premium or free plugins.
Good Luck!