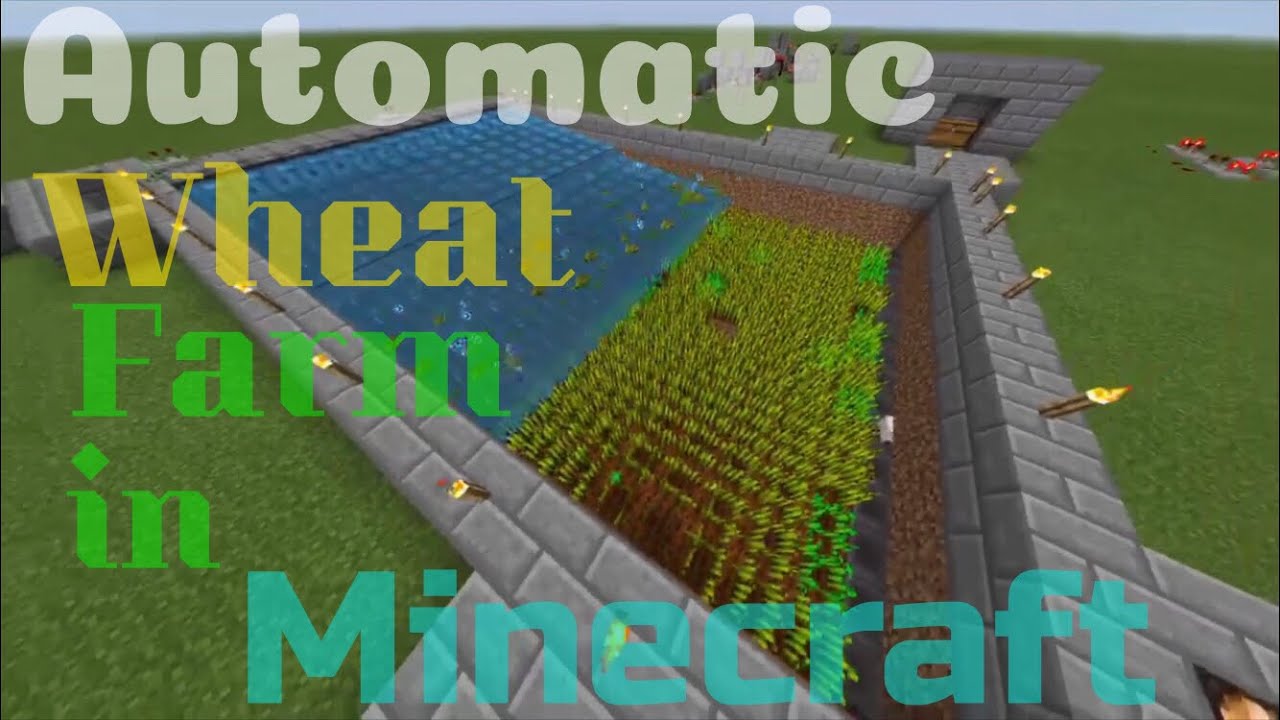
Growing wheat has never been easier on Minecraft. Anyone who has ever played Minecraft knows that building a village takes—well a village. The more resources you have, the better will be the play, be it in survival or creative mode. Although there is no set way to play the game and it is perfectly acceptable to go through the game like the cavemen, we were, i.e. hunting & gathering during the day and mining at night. But at some point, even they found the need to set up base and start farming, so why shouldn’t you? Especially if it is a Minecraft automatic wheat farm that is self-sufficient.
A self-harvesting farm is handy in a game like Minecraft as it gives you a constant source of items that helps you make progress in a game where no resource is permanent. Wheat is one of the most resourceful crops as it can be used to create haystacks, bread, cake, and cookies. It is also beneficial if you want to breed animals or have them follow you to your village. Thus, it is the obvious choice when it comes to building your first automatic farm. However, you can also use the below-mentioned method for growing different vegetables like potato, beets, carrots, etc.
Here is the simplest way of creating a self-sufficient Minecraft automatic wheat farm:
Step 1: Ensure that you do not have any chickens in the area; it is a simple but critical step for the wellbeing of your farm.
Step 2: Create a strong foundation with a 9×9 dirt platform and leave a hole in the center. This hole is for the water that will irrigate your crops.
Step 3: Your foundation needs a fence, you can either build a wall two blocks high or build a single block fence around the dirt, not on it, the aim is to keep the farmer inside the farm.
Step 4: Place a permanent block below the hole and fill it with water.
Step 5: Till the dirt on your farm to make it crop ready.
Step 6: It is now time to create a place where all the crop can go, the safest bet is to cover the underneath of the dirt with hoppers making sure that they all connect. It is best to start with the outer part and then fill in the middle.
Step 7: Place a large chest underneath your primary corner hopper to collect the harvested wheat.
Step 8: Now that your farm is ready, you just need to catch a farmer. Build a simple trap that will contain the villager, spawn a farmer in the trap. Once you have captured him, throw as many seed stacks at him as he can hold. With his inventory full, he will not be able to pick up anything else.
Step 9: Start your farm off by planting a few seeds and then release the villager. Speeding up the growing process is possible with the help of bonemeal if you need an immediate supply.
Step 10: When the wheat is fully grown, the villager will be able to destroy it but not pick up any of it (you filled up his inventory with seed remember). This excess wheat will fall through the dirt and into the hoppers which will then find its way to the chest placed underneath.
That’s it; you have your automatic wheat farm that will keep providing you with an unlimited supply of wheat; all you have to do is enjoy your game.
This is just one version of a Minecraft automatic wheat farm. It is excellent for beginners and those who are not feeling very inspired at the moment. It’s also a good idea to finish up the task of How to start a Minecraft server up to date with the most up-to-current technology ahead of time. When you get down to designing, you can always create farms that have multiple villagers tending to it which will provide you with a greater yield in less time so that you can focus on finding the non-renewable resources in the game like coal, diamonds, and iron.
